
Sharing expenses shouldn’t be complicated. Whether you’re splitting rent with roommates, organizing a group trip, or keeping track of who owes what after dinner, Spliteo is designed to make the whole process effortless. This tutorial walks you through every feature, step by step, with the exact buttons and flows you’ll see in the app.
Step 1: Create Your Account
Head to spliteo.app or download the app on iOS or Android. You have two ways to sign up:
- Sign up with email — Enter your name, email address, and a password. You’ll receive a confirmation email; click the link inside to verify your account before logging in.
- Continue with Google — One tap and you’re in, no password needed.
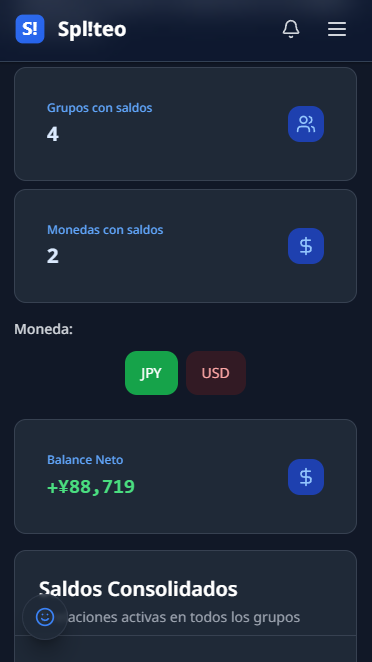
Once logged in, you’ll land on the Dashboard — your financial overview for all groups at a glance.
Step 2: Create a Group
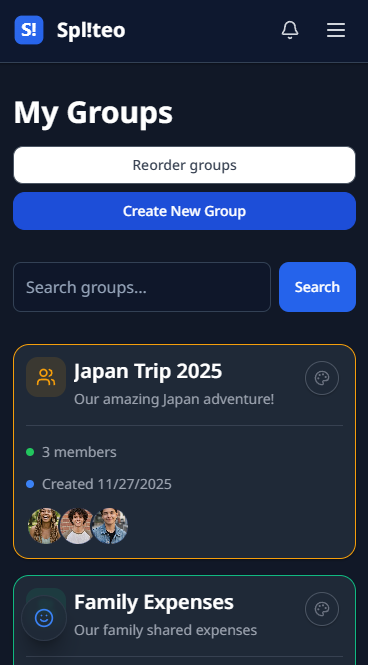
Groups are how Spliteo keeps expenses organized. Each group is a self-contained space where members log costs, track balances, and settle up. Navigate to Groups in the main menu and tap Create New Group. A modal will open with the following fields:
- Group Name (required) — Something descriptive like “Barcelona Trip 2025”, “Flat 4B”, or “Friday Crew”.
- Group Icon — Choose from 20+ icons (people, food, travel, home, and more).
- Default Currency — The currency used by default when adding expenses (USD, EUR, GBP, CAD, etc.).
- Supported Currencies — Additional currencies this group can work with, useful for international trips.
- Participant Emails — Optionally add emails to invite people at creation time.
Hit Create Group and you’ll be taken directly into the group. Any emails you entered will automatically receive invitation links.
Step 3: Invite Members
If you didn’t invite anyone during group creation, or want to add more people later, open your group and tap Invite Members. An invitation modal opens with three modes: Single Invite (one email), Bulk Invite (multiple emails at once), and a Shareable Link (configurable expiry and max uses). The modal also shows all pending invitations with the option to cancel them individually.
Step 4: Add an Expense
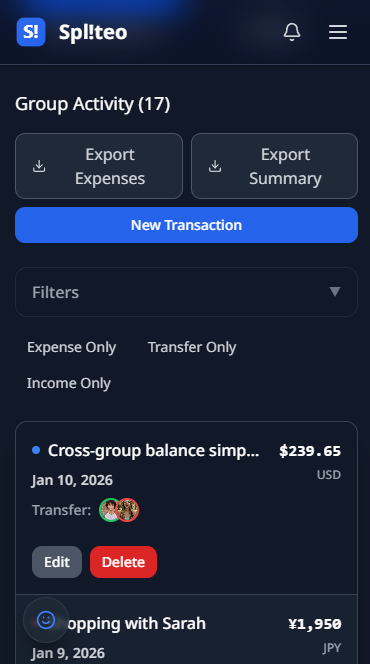
Open your group. You’ll see four tabs at the top: All Transactions, Summary, New Transaction, and History. The All Transactions tab lists every expense, transfer, and income logged in the group, with type filters (Expense Only, Transfer Only, Income Only) and export options.
Tap New Transaction to log an expense. At the top you’ll see three type buttons: Expense, Transfer, and Income. Select Expense (default).
Just below the type selector, tap the prominent Split a Bill button to open the Bill Splitter wizard (see Step 10). For a regular expense, fill in the form below:
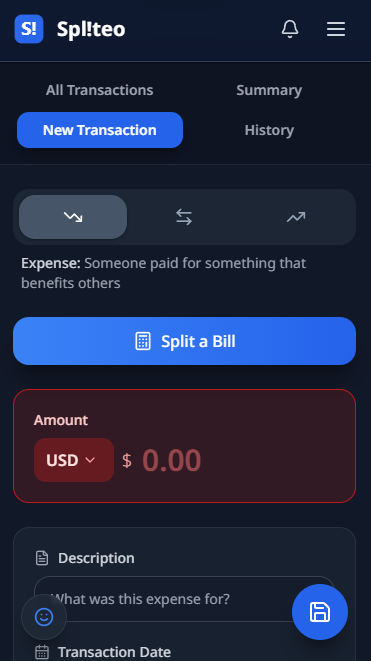
- Amount — Enter the total and select the currency.
- Description — A short label like “Dinner at Osteria” or “Supermarket run”.
- Date — Defaults to today; change it if logging a past expense.
- Category — Pick from Food, Travel, Entertainment, Transport, Accommodation, and more.
In the Paid by section, select who paid. In the Split with section, select who the expense is for and choose Split Evenly, Fixed Amount, or Parts mode. When done, tap Create.
Step 5: Log a Transfer or Income
The New Transaction tab handles more than expenses:
- Transfer — Record a direct payment between two members (e.g. “Ana paid Carlos €30 for last week’s groceries”).
- Income — Log shared income such as a group refund or cashback.
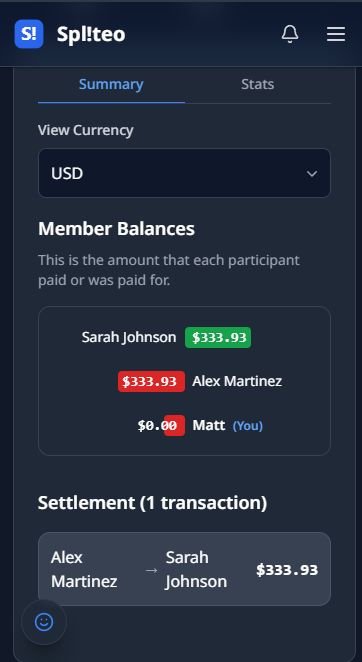
Step 6: View Balances
After adding transactions, tap the Summary tab inside your group. This shows each member’s balance as a bar chart and table — who paid more (green) and who owes (red) — organized by currency.
For a broader cross-group view, go to the Dashboard. Here you’ll find a currency selector, a Net Balance card, and the Consolidated Balances list showing every person you have a balance with across all groups.
Step 7: Settle Up
When it’s time to clear debts, go to the Dashboard and tap a person in the Consolidated Balances list to open the Settlement Modal.
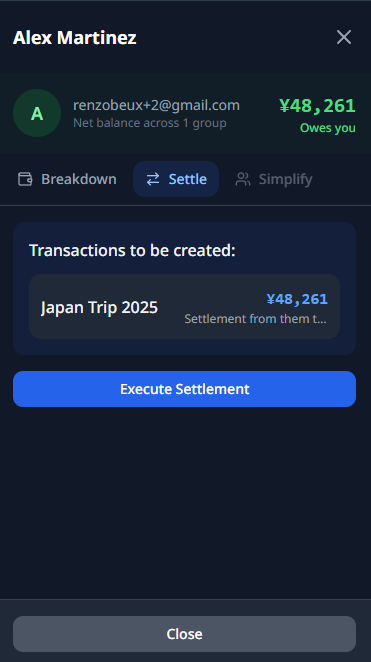
The modal has three tabs:
- Breakdown — Shows what you owe/are owed in each group.
- Settle — Creates settlement transfer transactions across all relevant groups, zeroing the balance. Add a description and tap Execute Settlement.
- Simplify — Calculates a simplified payment plan across multiple groups.
The actual money movement happens outside Spliteo — the app records the settlement so the books stay balanced.
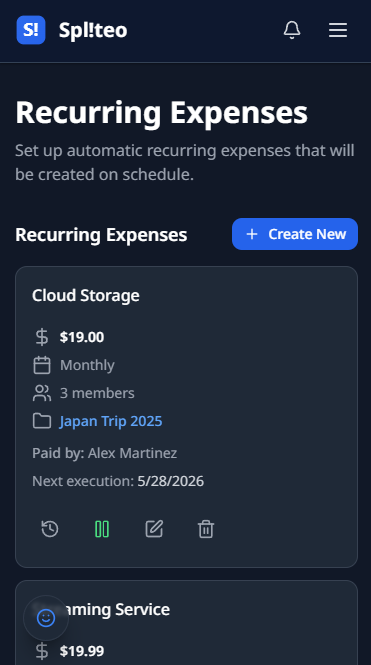
Step 8: Set Up Recurring Expenses
Rent, Netflix, utilities — some expenses happen every month. Instead of logging them manually, automate them. Navigate to Recurring Expenses via the More menu and tap + Create New. Configure the group, description, amount, frequency (Daily, Weekly, Monthly, or Yearly), start/end dates, payers, and recipients.
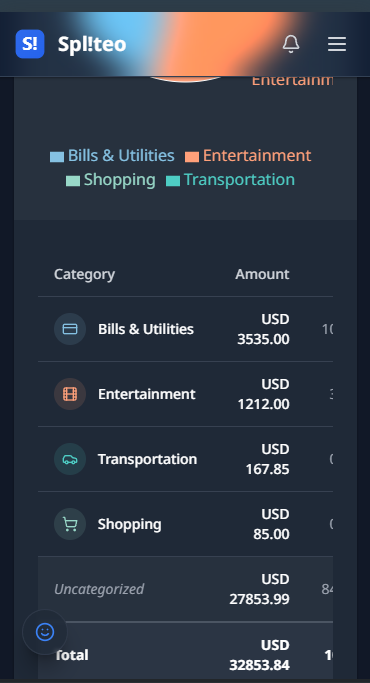
Step 9: Explore Analytics
Navigate to Analytics via the More menu to see where your money goes. Set the date range (up to 90 days), transaction types (Expenses, Income, Transfers), and currency. The main area shows a Pie or Bar chart broken down by category, plus a detail table. Click any category to drill into subcategories. Premium users can tap Export CSV to download the full breakdown.
Step 10: Split a Bill with the Bill Splitter
The Bill Splitter handles itemized receipts — when everyone ordered different things. Access it from the New Transaction tab via the Split a Bill button. The wizard has five steps:
- Currency — Select which currency applies. Tap Continue.
- Items — Add items (name and price). If you scanned a receipt via OCR, items are pre-filled — review, edit, or add missing ones. Tap Next.
- Assign — For each item, check the members who ordered it. Use Assign to All for shared items. Tap Next.
- Extras — Add tip, tax, and/or discount as a percentage or fixed amount. Or use Simple Mode and enter the actual total charged. Tap Review.
- Review — See each person’s items, their share of extras, and individual total. Use Edit Step buttons to go back. Tap Apply.
The Bill Splitter fills in the entire expense form automatically. Just tap Create to save.
Transaction History and Edits
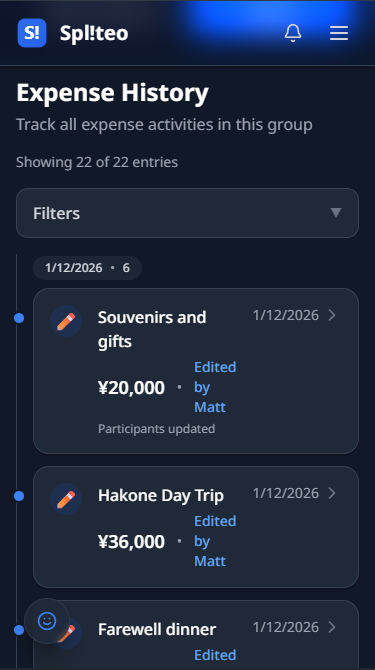
The History tab inside any group shows a full audit trail of every change — what was changed, by whom, and when, with before/after values.
From the All Transactions tab you can Edit or Delete any transaction using the action buttons on each row.
Premium Features at a Glance
Spliteo’s core expense tracking is free. Premium unlocks:
- Receipt scanning with OCR
- Advanced analytics with charts and CSV export
- Extended date ranges and full historical access
- More than 4 groups
Quick Tips
- Log expenses in real time — don’t wait until the end of the trip to reconstruct everything from memory.
- Use categories — they make the Analytics page significantly more useful.
- Settle up regularly — small, frequent settlements are much easier than one large reconciliation at the end.
- Set up recurring expenses on move-in day — configure rent and utilities once and they’ll appear automatically every month.
- Check the Dashboard daily during a trip — it prevents surprises and keeps everyone informed in real time.
You’re Ready
That’s the complete Spliteo workflow — from creating a group and inviting members to logging expenses, splitting bills, settling balances, and understanding your spending patterns. The whole system is built to take money stress out of the equation so you can focus on the experiences themselves.
Open Spliteo and start your first group today.